

App prototyping is an important exercise that can prevent your idea from failing and help you receive valuable feedback before you invest time and money into building a full-fledged product. By prototyping, you get a complete picture of your future app, test how customers react to the product concept, and align your final product with the real needs of your end users — but only if you can get the prototype right.
Let us draw on our 15 years of experience and break down the core steps, considerations, and tools to help you make an app prototype as a non-designer or non-developer.
What is a mobile app prototype?
As an intrinsic part of the software development process, app prototypes are designed to give a visual and functional representation of the app's idea, design, and app's basic functionality. They are a form of user research that helps you test concepts and assumptions against real user needs.
This no-code task takes place during the pre-development stage. Unlike minimum viable products, prototypes typically include only the visual aspects of the app, without any usable functionality. The visuals are enough to gather early feedback on the app's usability and functionality, while also setting the stage and direction for further development.
Types of mobile app prototypes
Designers and product teams build prototypes of varying degrees of fidelity depending on the design stage and development timeline. Here are three main types of mobile app prototypes you need to know about:
1. Hand-sketched prototypes
Goal – Visually represent an app idea
A hand-sketched or paper prototype is a simple series of hand sketches on paper, where each sketch shows a different screen, illustrating the app’s flow. After the brainstorming phase, designers can share their first-hand-sketched prototypes to provide a general idea about the future app.
2. Low-fidelity prototypes
Goal – Confirm the app’s concept and basic structure
After iterating on a paper prototype, your team can build the first digital prototypes.
Low-fidelity prototypes are clickable wireframes that are linked to each other. Their design is black and white, allowing users to focus on the app's functionality rather than its colors and images. You can create low-fidelity prototypes using either simple tools, like PowerPoint or Keynote, or more advanced prototyping apps, like Justinmind or Proto.io.
3. High-fidelity prototypes
Goal – Negotiate the final design
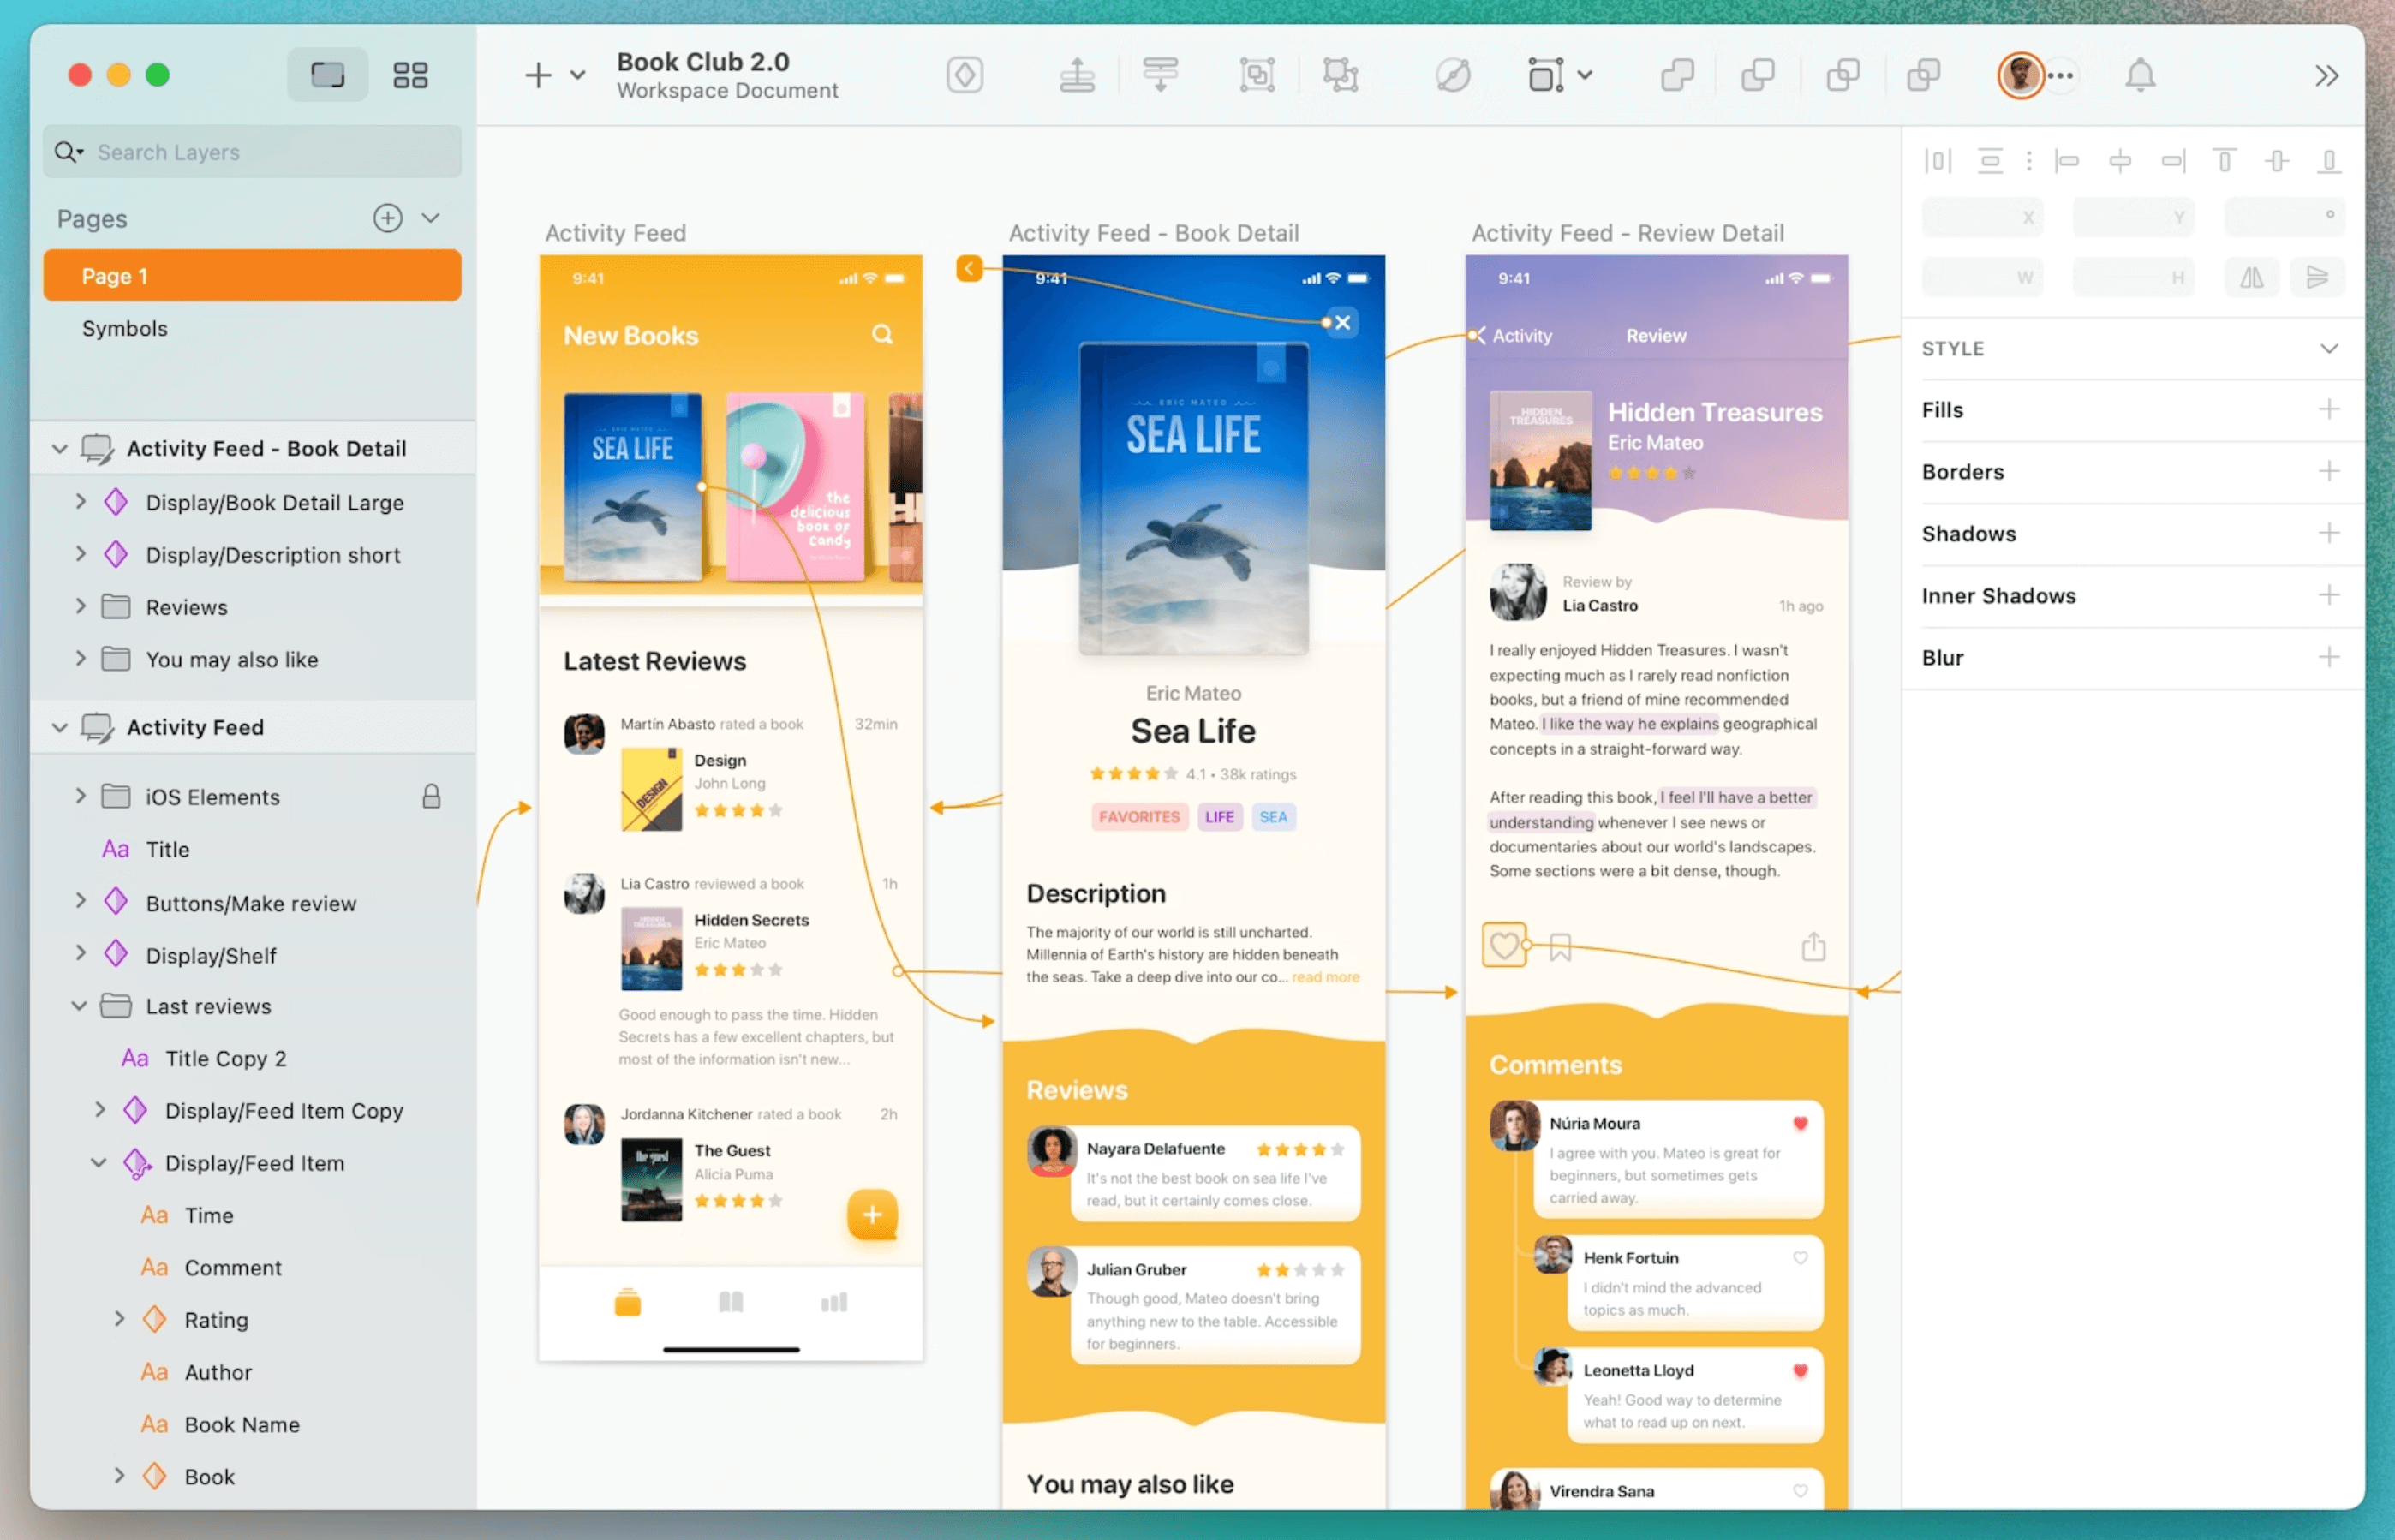
High-fidelity (or hi-fi) prototyping is the process of creating high-quality, clickable prototypes using prototyping tools like Figma or Sketch. A high-fidelity interactive prototype looks like a real app, including all visual UI elements and interactions, animations, and transitions to test each aspect of the app's usability. At this stage, stakeholders can get a real sense of the user experience before shipping your app concept to the development team.
Benefits of creating a prototype for your mobile app
Prototyping is a strategic process that turns visionary ideas into market realities. But it's also a quick and cost-effective way to test and validate app ideas before you go all in. There are many other design and business-related benefits of kicking off your app development process with mobile prototypes, including:
- Validating the app idea early
There's nothing worse than building a product that nobody needs. To avoid this scenario, it's essential to test UI elements and user flows and validate that the product meets the needs of users or stakeholders. That's what prototyping is for.
- Validating UX and usability
Interactive prototypes are a great way to implement usability testing during the early stages of software development. Any type of prototype, from paper to high-fidelity, can be used to run multiple rounds of testing and ensure the right usability focus.
- Exploring new ideas and improvements
Prototyping allows teams to explore ideas before investing money and time into app development. During the prototyping stage, user testing can help identify possible improvements, and then the team can adjust the app’s requirements to meet users’ needs.
- Saving money and effort
The closer you get to launch, the more expensive changes get. According to the 1-10-100 rule, the changes you need to make with an “almost-finished” product would cost you 100x more than if you do upfront research.
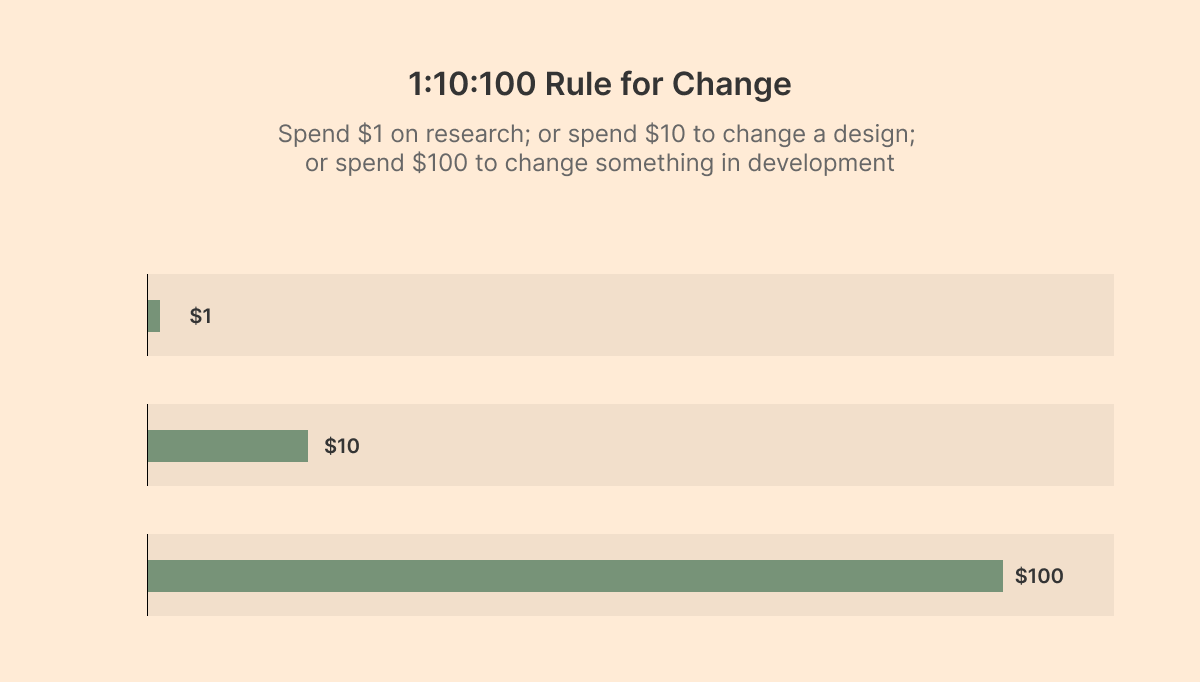
Prototypes help you eliminate the overhead of additional iterations by testing the app with real users as early as possible. UI elements, user flows, and new features can be easily altered and re-tested at their initial stage.
- Adjusting product vision to real users’ needs
Your initial vision might be a far cry from what end users actually need. Paired with brainstorming sessions, interviews, and surveys, app prototypes can help you tap into the minds of your end users and see how your product stacks up against user preferences.
- Setting common development and business goals
Prototypes also serve as foundational blueprints for any project. They promote a collaborative environment for the entire development team — from project managers to testers — and every stakeholder, allowing them to arrive at a well-defined product vision, strike the right balance between business and development objectives, and remain on the same page throughout the project.
- Facilitating fundraising
Gaining investors' attention and trust can be tough, but prototypes can smooth your investment journey. Prototypes clearly visualize abstract concepts and turn them into palpable experiences that investors can see, touch, and understand, helping your pitch stand out from the rest.
Here's how to prototype an app in 7 steps
Here are the main stages of the prototyping process you need to go through while building your app prototype:
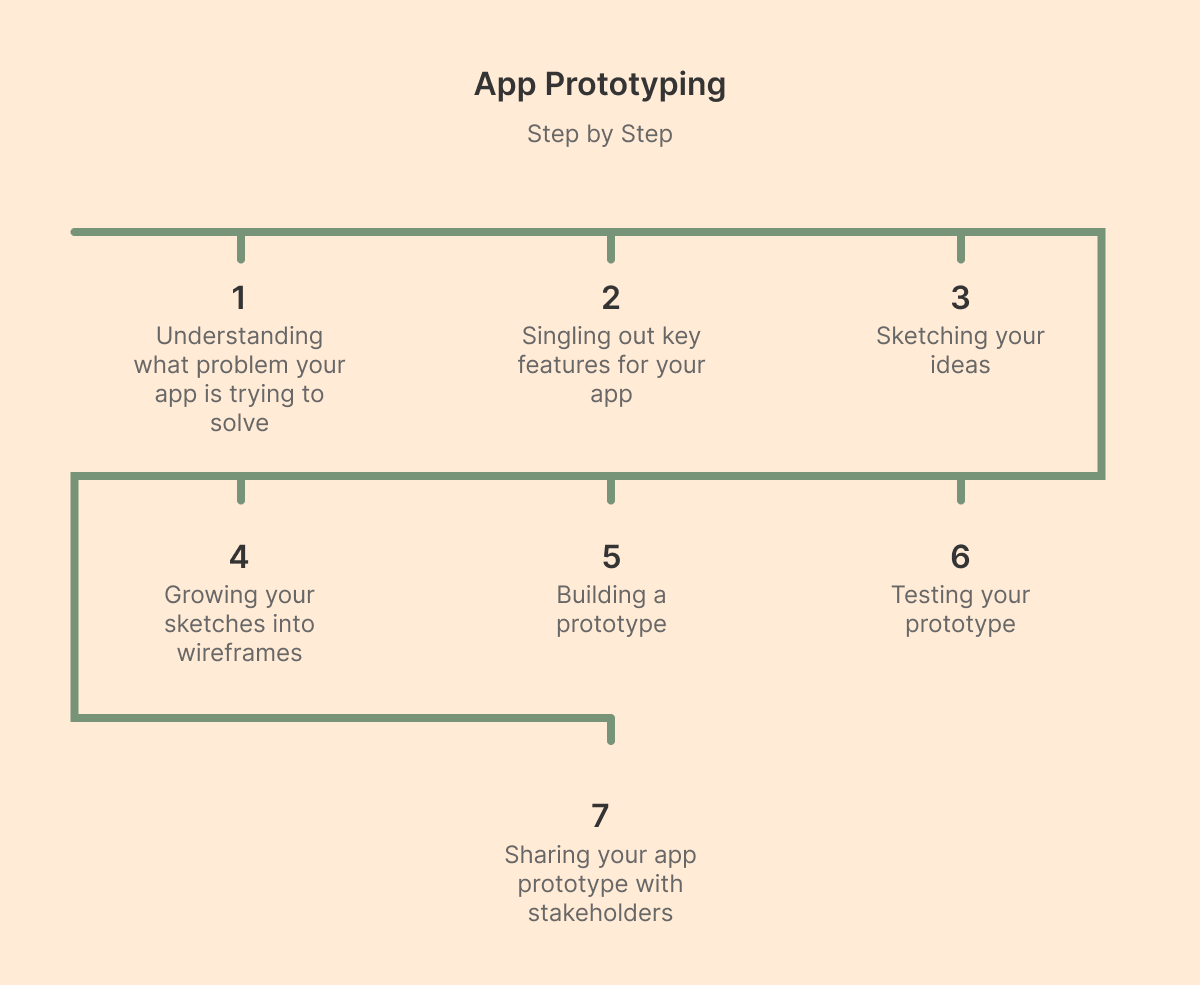
1. Understanding what problem your app is trying to solve
Prototyping is all about finding the right balance between business, development, and user needs. Ultimately, your app should be centered around the user and determined by the needs of the end users.
Before going ahead with prototyping, you need to gain a crystal-clear definition of what your app's real purpose is. Comprehensive user and market research will help you figure out what features users need to solve their problems. Once you have a full picture of the market and your audience, it's time to move on to feature prioritization.
2. Singling out key features for your app
As soon as you have identified a key problem to solve with your app, you can start brainstorming killer features. While brainstorming with your team, you need to create a list of the app features that could help your app stand out from the competition.
Then, prioritize those features based on their role and importance to your users. But don't try to cram all the listed features into the prototype. Select four or five features and design your app around them. You can add more features once you've concept-proofed your app idea.
3. Sketching your ideas
Once you know your highest-priority features, it’s time to focus on a seamless user experience. Creating a few app sketches of the primary screens, with the initial layout showing the user interface elements you plan to use, could help you map out and craft the best user experience. At this point, you don’t need to worry about design or advanced prototyping tools.
4. Growing your sketches into wireframes
After paper sketches, you can start creating detailed wireframes for your app. A wireframe is a low-fidelity prototype of your product that consists of words, lines, boxes, and descriptions. Though wireframes cannot visualize your product's final look and feel, they can lay the solid foundation for further app development.
5. Building a prototype
The next step is to turn the wireframe into a working prototype. First, you need to build the app screens based on your wireframe and then add UI elements like buttons and text fields. Once you've finalized the look of your app, add animations and interactions.
Don't sit on your prototype for too long. Remember that your main goal is to create a good enough version that you can test rapidly.
6. Testing your prototype
Testing your prototype allows you to find all the weak spots and iterate on the design before the launch. Cast your nets wide and ask as many people as you can to get the most diverse feedback possible. However, the most important group to test the prototype with is the end-users of your app.
There are many ways to collect feedback, from conducting surveys to screen recordings of your app while a tester uses it. Once you’ve gotten valuable feedback, refine your prototype to handle pain points and issues with your app.
Then, test the prototype again and gather more feedback. Repeat this iteration until you have a final prototype.
7. Sharing your app prototype with stakeholders
Now that a finalized prototype is ready, you can show it to stakeholders, namely your clients, investors, or upper management. And the best thing: as you have plenty of feedback from earlier testing, your app prototype is backed by reliable evidence.
Top 9 tools for mobile app prototyping
Mobile app prototyping has never been easier than it is today because prototyping software tools allow designers to quickly and easily create prototypes. Below, our design team has curated the nine best prototyping tools.
ProtoPie
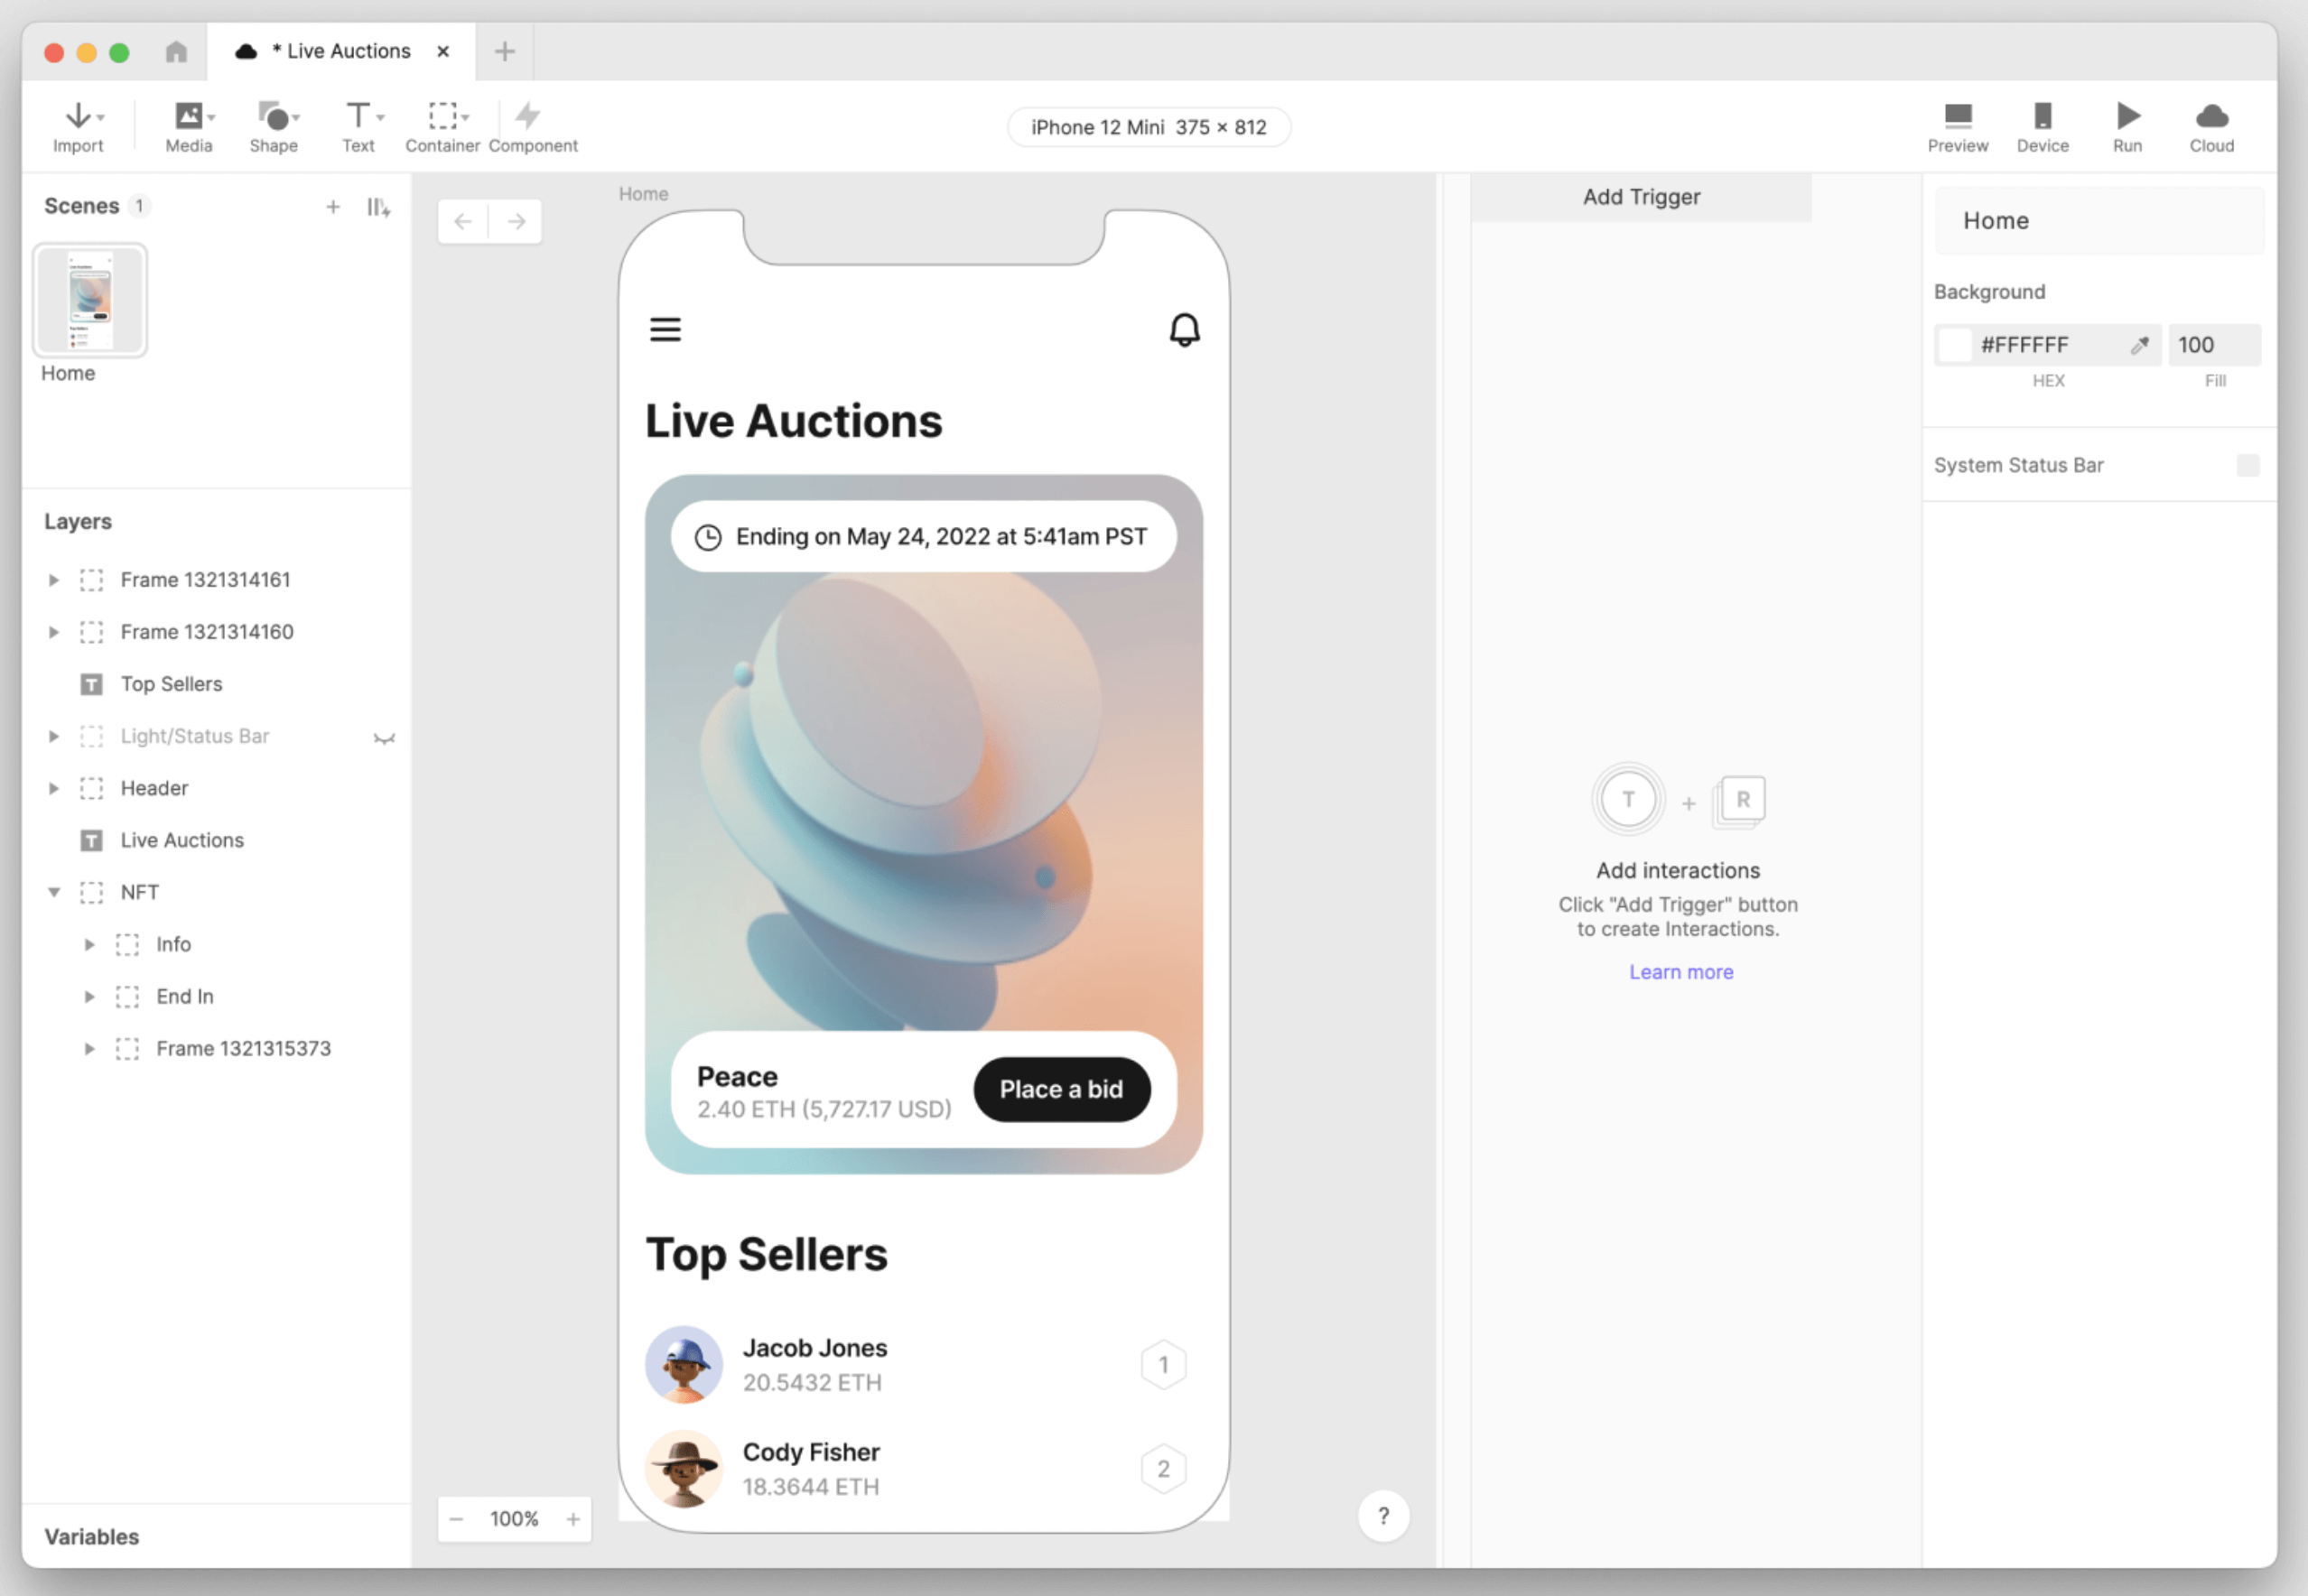
- Platforms: Web, MacOS, Windows, Android, iOS, iPadOS.
- Pricing: Free for up to 2 prototypes saved in Cloud and 2 scenes per prototype. Paid plans start at $29 per month for up to 20 prototypes saved in Cloud and 10 scenes per prototype.
- Best for: Highly interactive and realistic no-code prototypes.
ProtoPie enables you to build a realistic prototype of your mobile, desktop, web, or IoT app without (or hardly any) code. This prototyping tool supports a wide range of interactions, including gestures, animations, transitions, and even interactions with device sensors, such as the accelerometer and gyroscope.
Figma
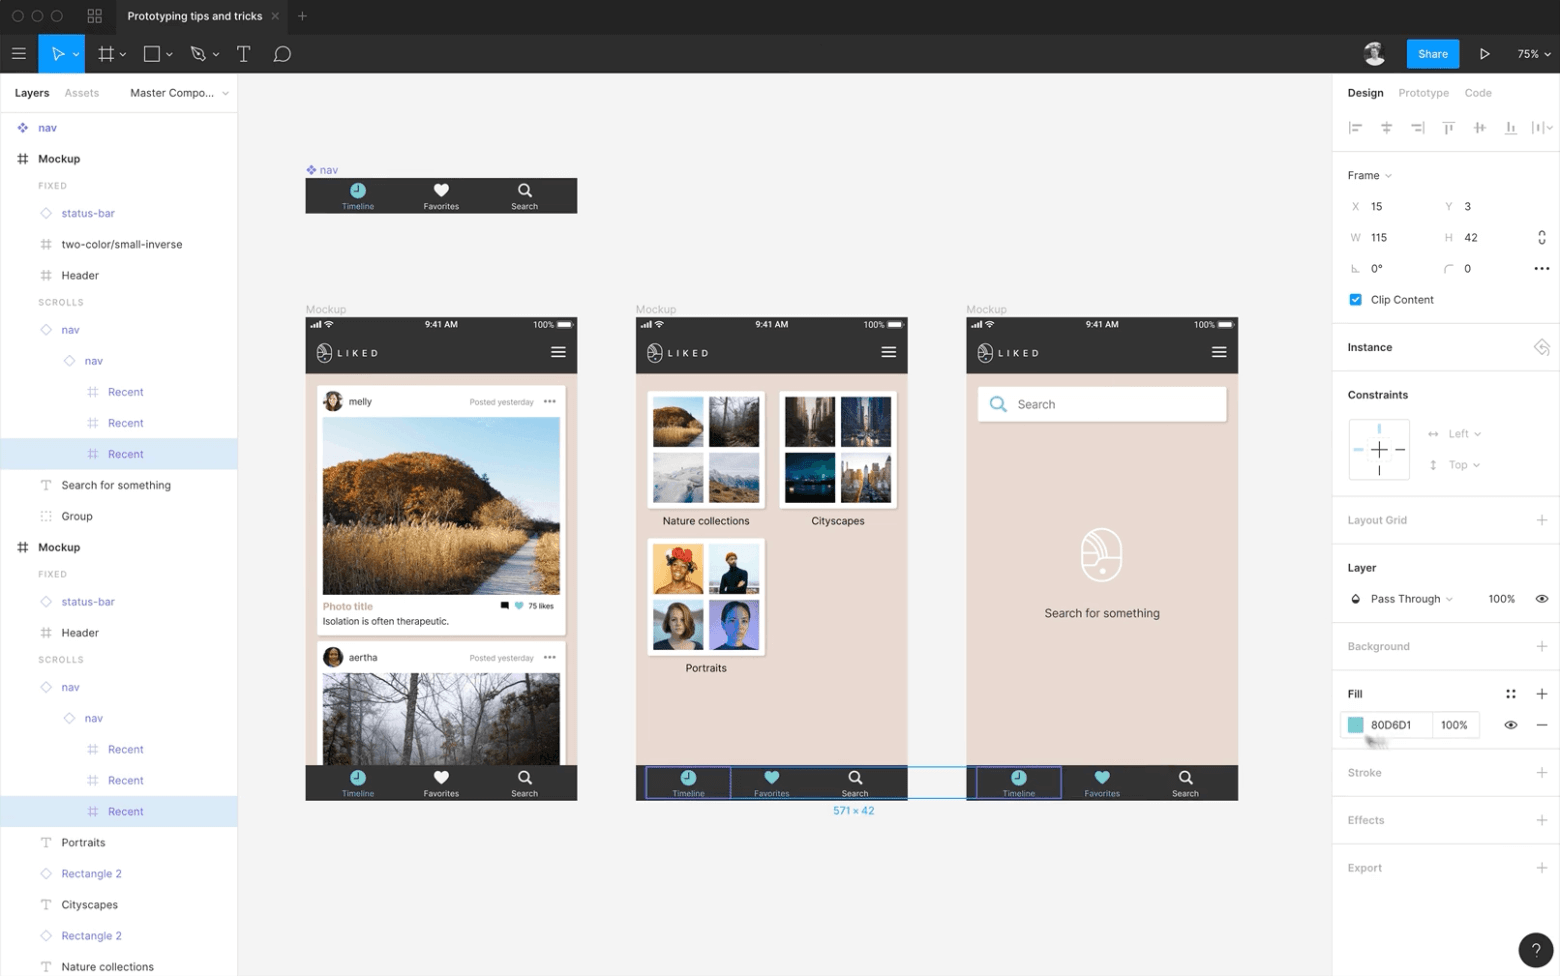
- Platforms: Web, MacOS, Windows, Android, iOS.
- Pricing: Free for up to 3 Figma and 3 FigJam collaborative files. Paid Figma plans start at $16 per full seat per month.
- Best for: Real-time collaboration for multiple designers and stakeholders on interactive prototypes, wireframes, and design systems.
Figma is an award-winning, powerful prototyping tool across all platforms. It offers various tools, flexible styles, and many plugins, such as Figmotion for creating advanced animations and Autoflow for illustrating user flows. With Figma prototypes, you can run usability tests, iterate in a few clicks, and keep moving your product forward.
FluidUI
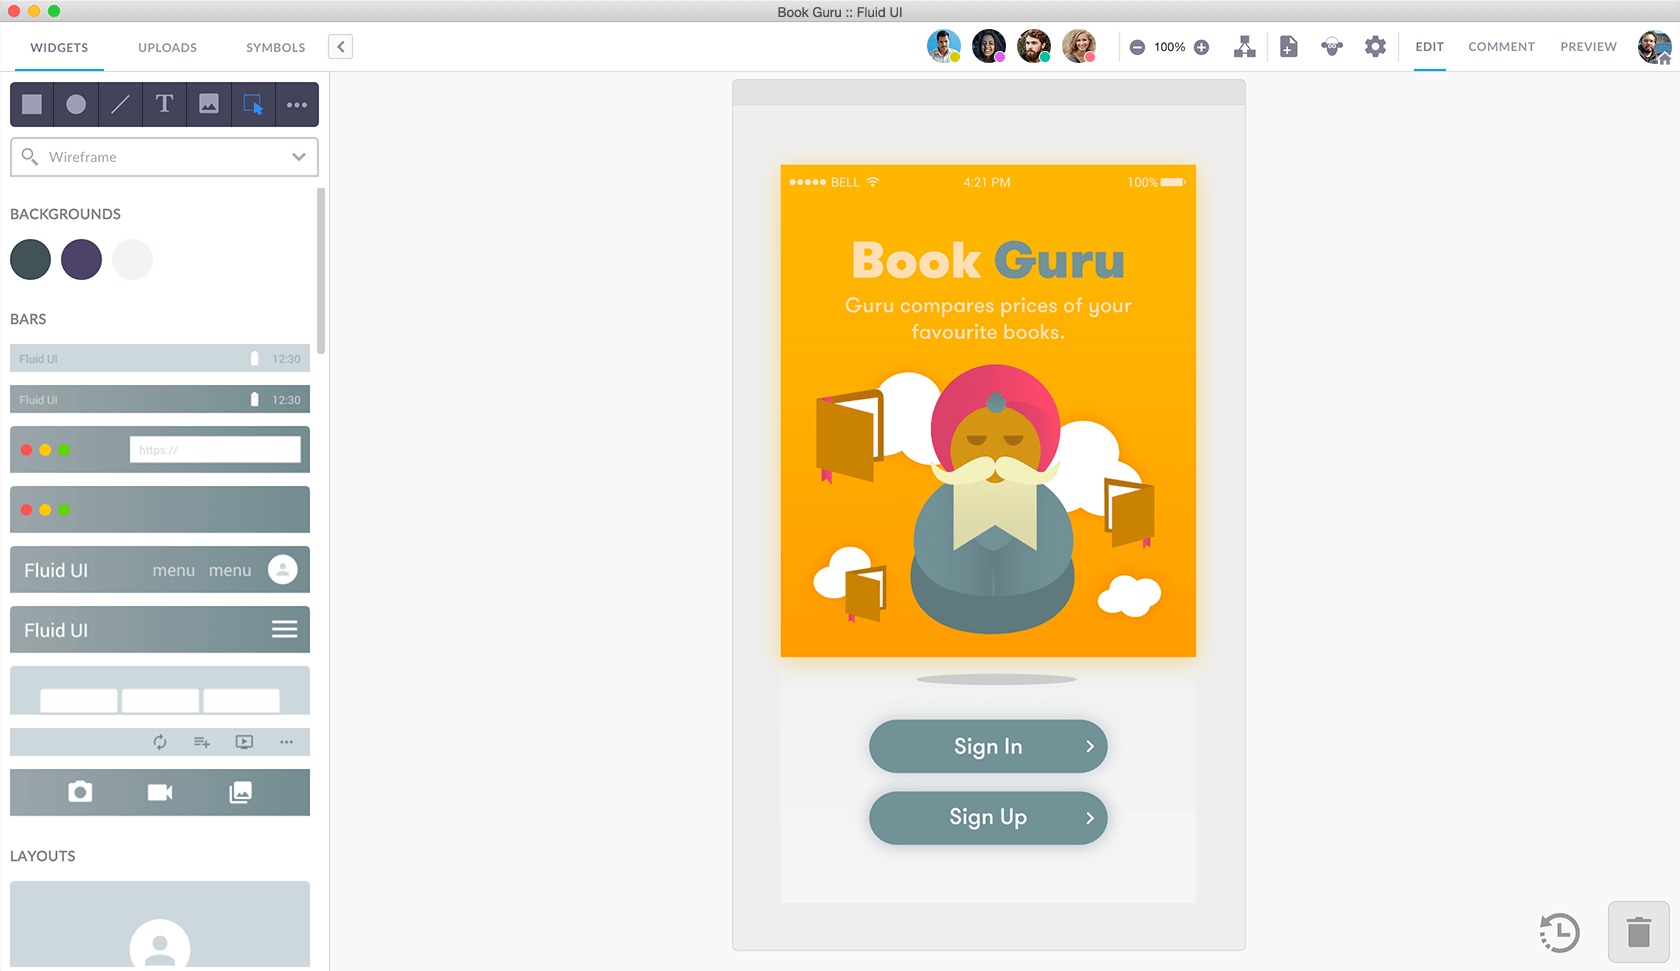
- Platforms: Web, MacOS, Windows, Linux, Android, iOS.
- Pricing: Paid plans start at $15 per month per user license.
- Best for: Low to medium-fidelity interactive prototypes for web and mobile applications.
With FluidUI, you can create prototypes without a design skillset. The platform features ready-made libraries and helps create wireframes quickly. The prototypes can be easily shared via Live Preview URLs and receive instant feedback through chat, comments, and video calls.
Origami Studio

- Platforms: MacOS.
- Pricing: Free.
- Best for: High-fidelity prototypes that dynamically pull and display real-time data from mobile and desktop apps.
Origami Studio is a free prototyping tool created by Facebook that allows designers to build and test interactive prototypes for mobile and web applications. With Origami Studio, you can enhance the potential of your prototypes with patches that leverage native hardware APIs. However, you may need some time to get up to speed with it, as it has quite a steep learning curve.
JustInMind
- Platforms: Web, MacOS, Windows.
- Pricing: Free for 1 project. Paid plans start at $9 per editor per month.
- Best for: High-fidelity prototypes and fully-functional simulations for web and mobile apps.
JustInMind is a free prototyping tool for all platforms. This tool is full of free pre-built widgets and is easy to share and collaborate with other users. With JustInMind, you can create highly interactive prototypes covering app navigation and interactive UI elements. Kitted out with user testing features, JustInMind makes it easier to validate designs and enhance UX based on real feedback.
Proto.io
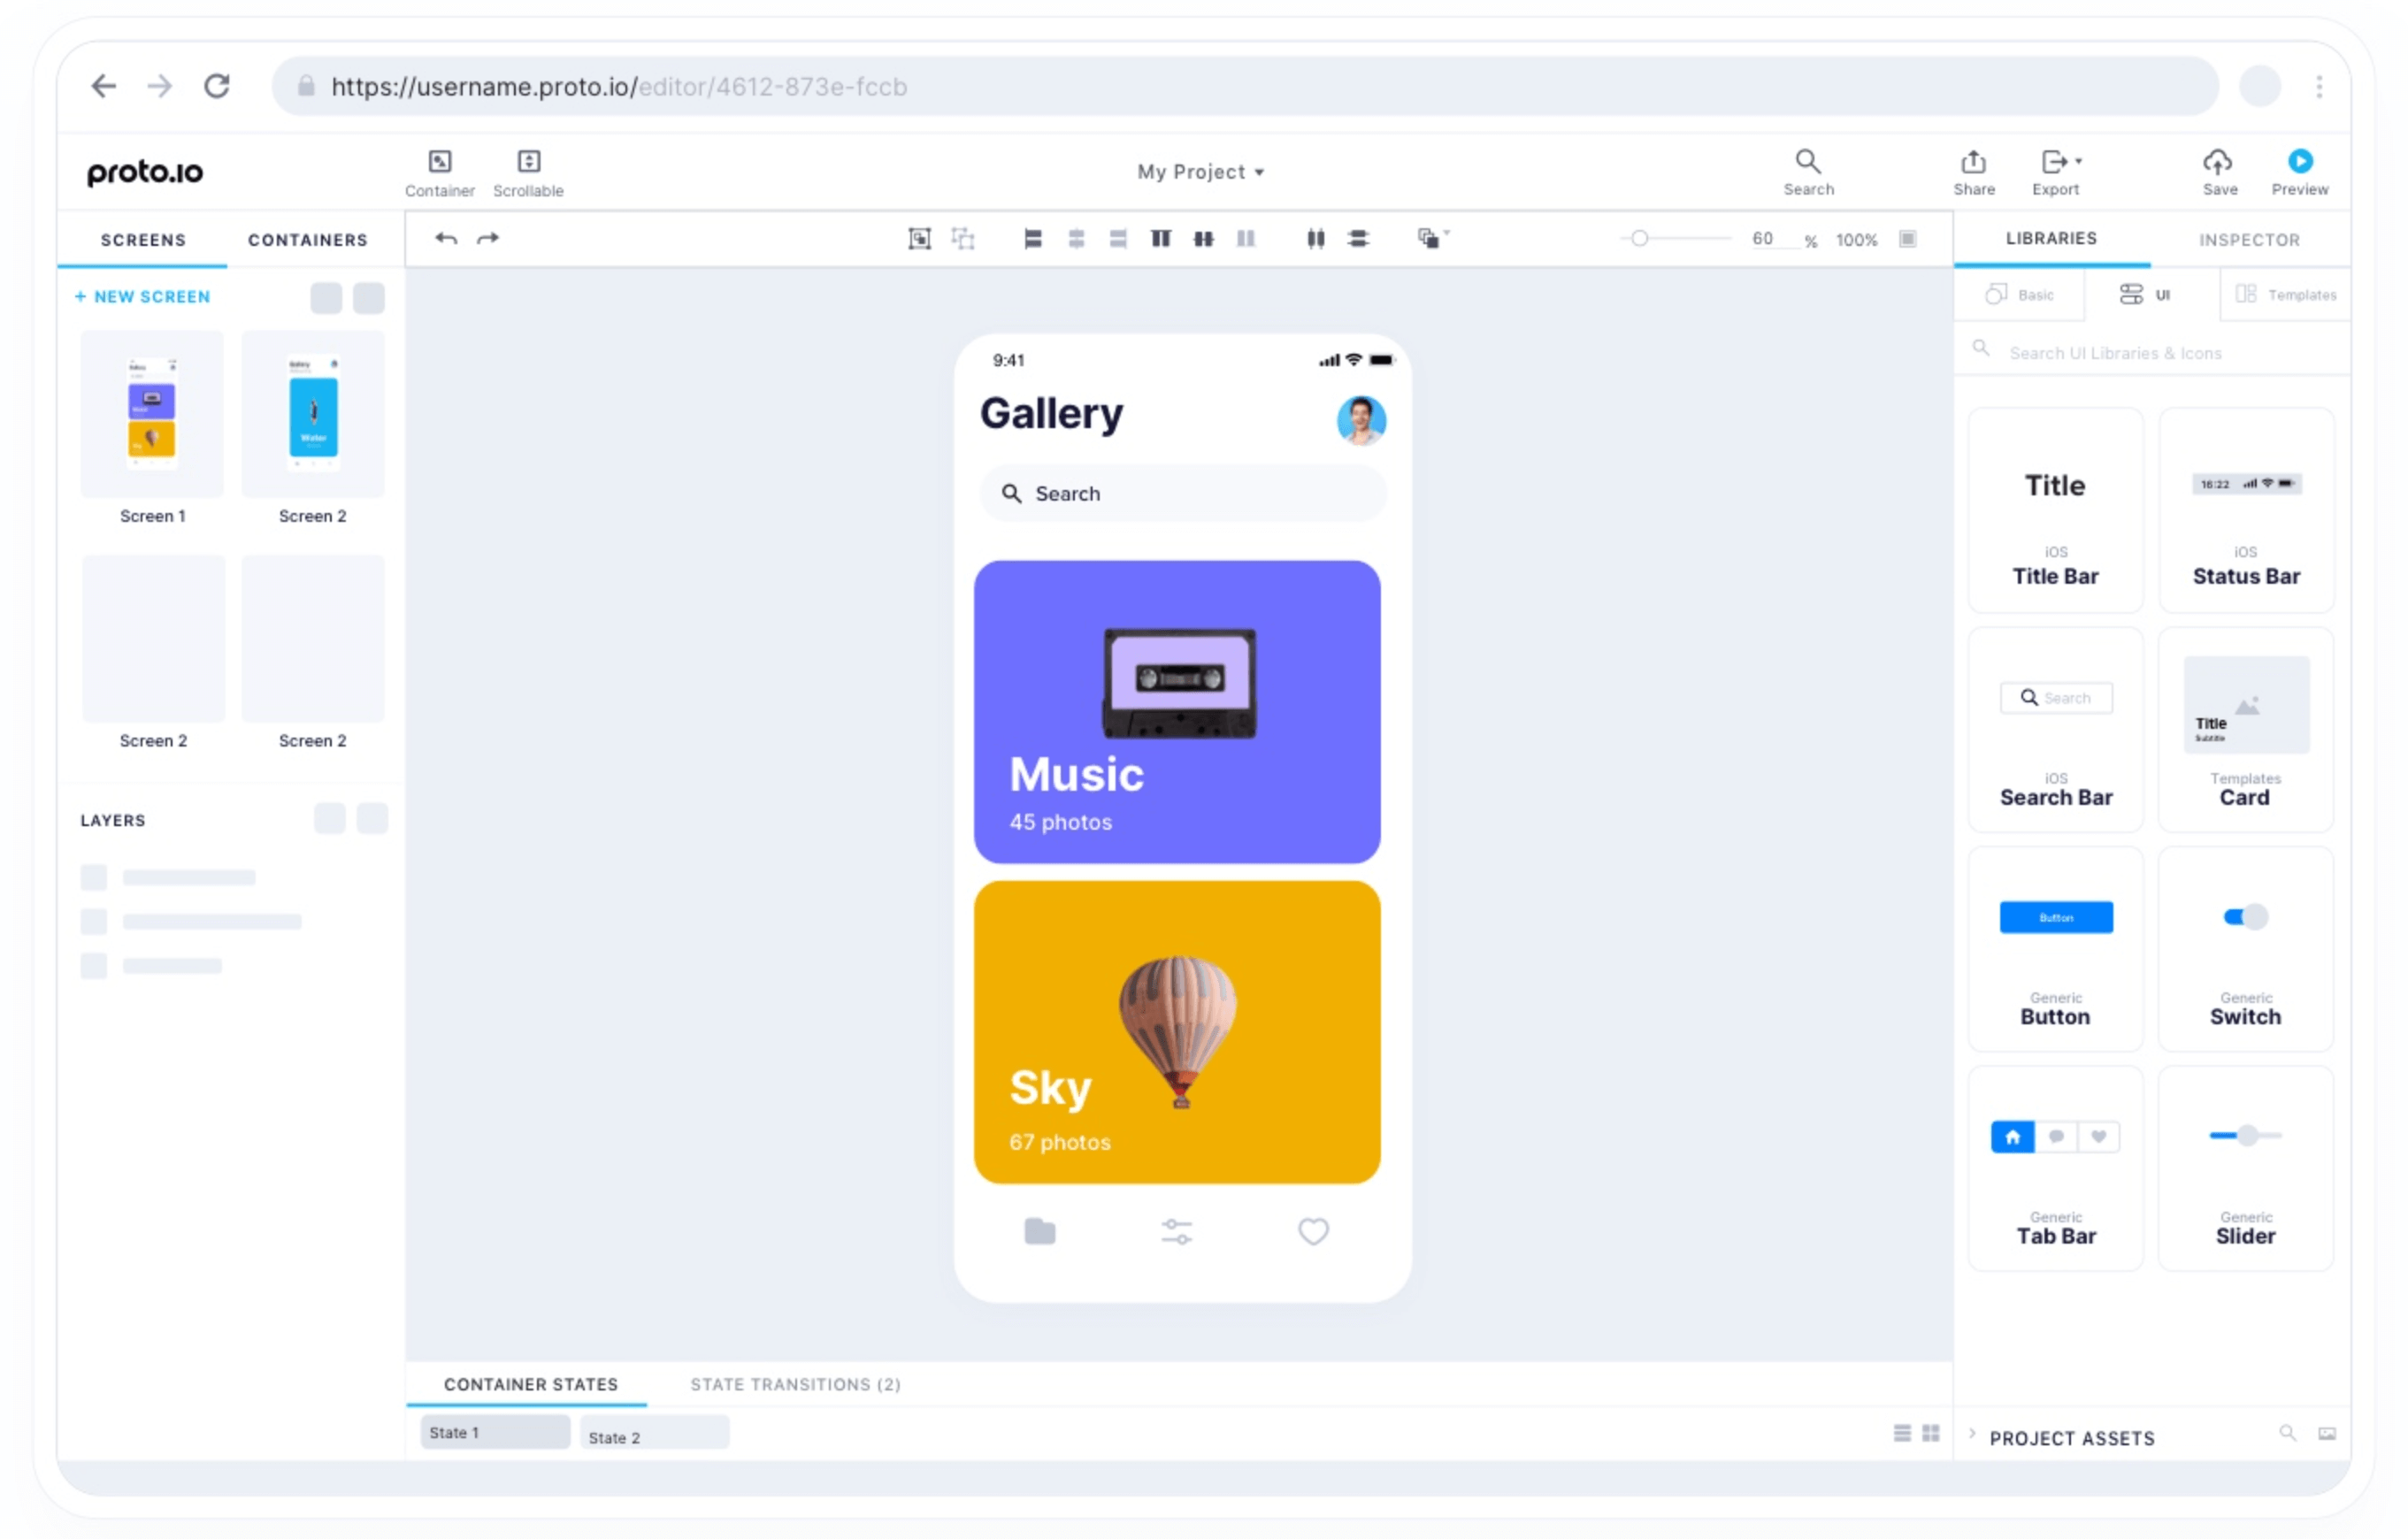
- Platforms: Web.
- Pricing: Paid plans start at $29 per month per user for 5 active projects.
- Best for: Interactive, high-fidelity prototypes for web, mobile, and other digital interfaces.
Proto.io can help turn any idea into a prototype. Thanks to its intuitive drag-and-drop editor, anyone can create, animate, and share prototypes without coding and design skills.
With over 1,000 templates featuring all popular blocks and elements, prototyping doesn’t take too long. Proto.io comes fully loaded with static and animated icons, images, and sound effects. The tool also allows you to send your prototypes to mobile devices or preview them in a browser.
Marvel
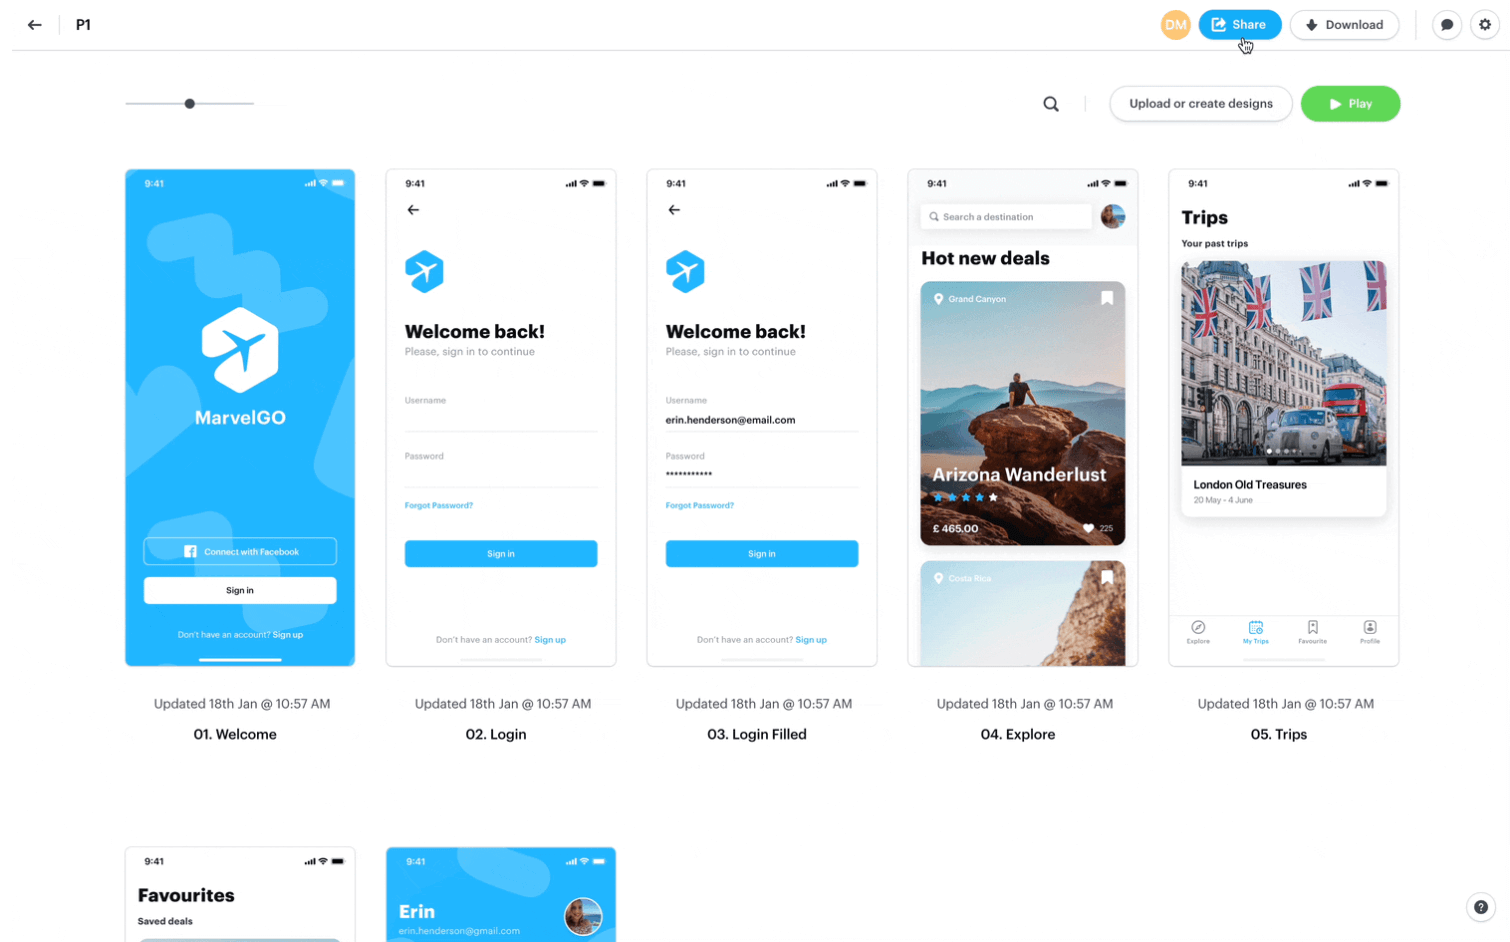
- Platforms: Web, MacOS, Windows, Android, iOS.
- Pricing: Free for 1 project. Paid plans start at $16 per month for 1 user and 3 active user tests.
- Best for: Low to medium-fidelity interactive prototypes, rapid prototyping, testing.
Marvel rapidly creates wireframes, designs, and prototypes thanks to highly intuitive UI and integrations. The app offers a wide range of features, including gestures, dynamic transitions, and interactivity, to help provide a near-real user experience during early development stages.
Axure
- Platforms: MacOS, Windows.
- Pricing: Free trial. Paid plans start at $34 per month per user.
- Best for: No-code, feature-rich, highly realistic prototypes.
Axure helps build realistic and functional prototypes. Working forms, multi-state containers, data-driven interfaces, and adaptive views can level up app prototyping and help communicate app ideas in a more realistic way. It also offers drag-and-drop placement, resizing, and creating user flows.
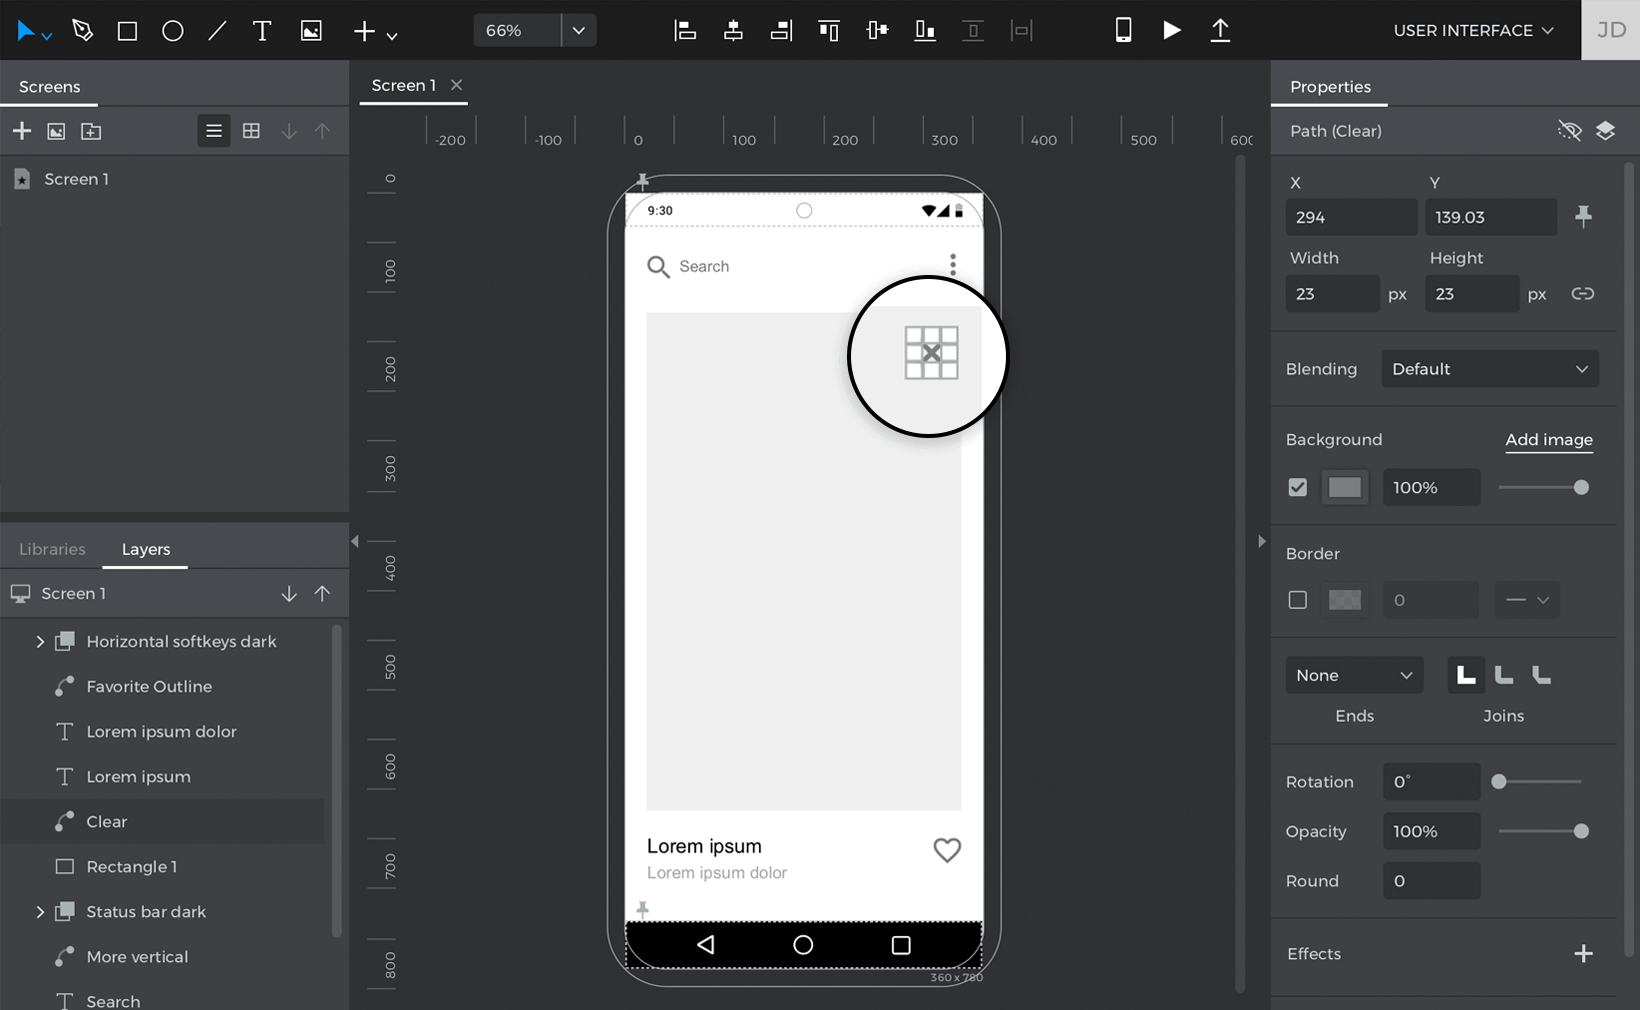
Sketch
- Platforms: Web, macOS, iOS, iPadOS.
- Pricing: Paid plans start at $12 per month per editor.
- Best for: High-fidelity UI design and prototyping, primarily for web and mobile applications.
Sketch is a lightweight vector-based editor with a simple interface. It's an all-in-one platform for creating animated timelines, turning wireframes into UI elements, and transforming screenshots into mockups. This tool enables vector editing and offers pixel-perfect precision.
Summing up
Back in the day, prototyping used to be an afterthought. Today, it's an indispensable ingredient of app success that can deliver real-world insights into real user needs. When paired with continuous testing, prototyping helps deliver the right app that the market really needs. At Orangesoft, we help global startups turn their ideas into prototypes and then evolve them into top-ranked apps. Contact us to share your project details.